Traveling by air can be overwhelming, and even more so if you’re planning to take your instrument with you! We wanted to give you a few tips on how best to prepare your instrument (and yourself) for some common in-flight issues you might come across on your next adventure.
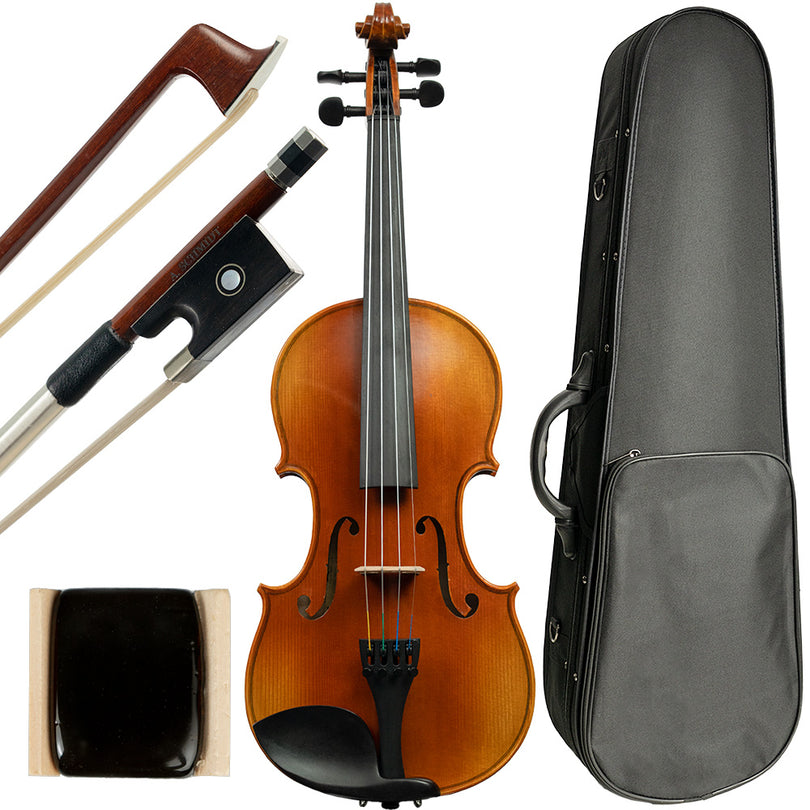
Before you fly, make sure that you are using a hard case to store your instrument. Soft cases will not be durable enough to withstand the stress of jostling luggage and a pressurized aircraft cabin, so opt for a hard case that’s made of hard thermoplastic, wood, hardened foam, or carbon fiber to protect your instrument. Another case-related tip is to make sure your case is labelled with a luggage or instrument tag. Hopefully you never get separated from your instrument, but in the unlikely event that it happens, a tag with your information can be very handy to have on your case.
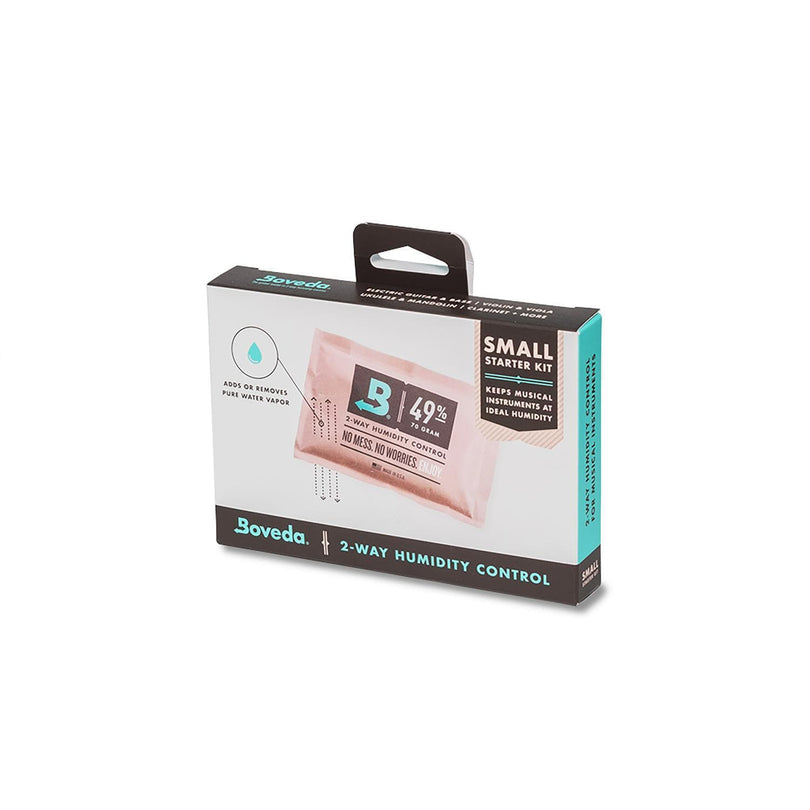
Looking inside the case, there are a few things that can be helpful to cross off your list before flying. Firstly, empty the compartments of any sharp objects. Some of us like to carry things like nail clippers or other sharp tools in our cases, but a discerning TSA agent is likely to confiscate those items, so it’s best to just get ahead of it. This is also a good opportunity to check your humidification setup. Planes are notoriously low in humidity, which can contribute to the wood of your instrument contracting and ultimately, splitting or creating an open seam. An easy way to prevent that is to make sure your humidification set up is optimized so that your precious instrument does not have to experience a huge change in the humidity levels during or after the flight.
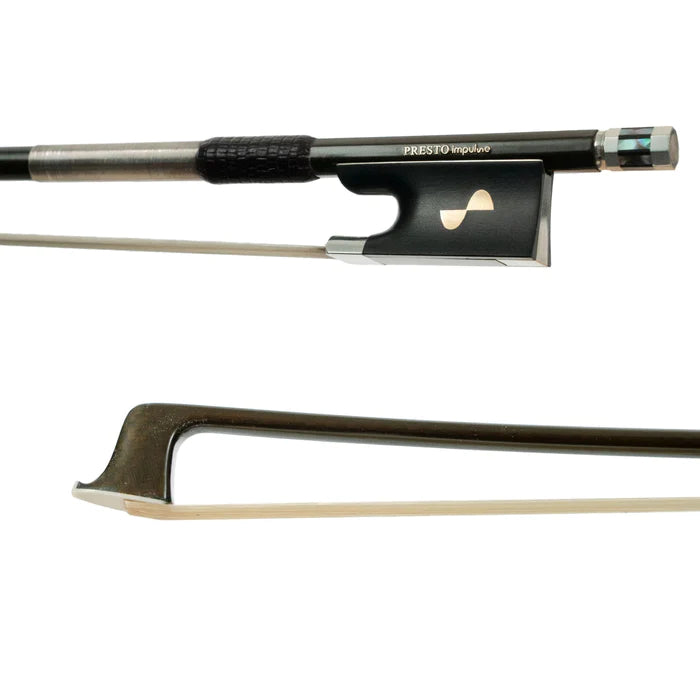
Moving on to the actual instrument, there are only a few things left to do before getting to the airport, and they mostly revolve around trying to release tension on the instrument. Planes tend to be highly pressurized, so we try to take some pressure off the instrument by loosening the pegs slightly (about a whole step or so) to ease tension on the bridge. In addition, make sure your bow is also loosened to ease any tension on the stick of the bow. The last step is to wrap your instrument in a cloth or instrument bag. This will help maintain and regulate the temperature, especially when it’s up high in those cold overhead bins.
Now onto travel day! When you get to the airport, going through security is one of the first steps. Keep your instrument and bow inside the case when going through the X ray machine. This will ensure that it stays protected and doesn’t get jostled around by other luggage that is passing through the belt. Sometimes, a security agent might want to do a physical inspection of the case, and that is completely fine. They might just need some reminders on how to handle a delicate instrument!
After passing through security, you’re in the home stretch! When you get to the gate, ask the agent if they might allow you to board a bit early so that you can put your instrument safely in the overhead bin. When you get onboard, find an overhead compartment that is near your seat so that you can keep your attention on it. Sometimes, people don’t know that there is an instrument in the bin they’re aiming for, and it’s helpful to let them know before they attempt to jam their luggage wheels-first into your treasured instrument!
After the flight is finished boarding and you fasten your seatbelt, your part is done. You can rest assured that you’ve done everything you can to ensure your instrument’s safety, and it should arrive safe and sound to your destination. Just tune it back up to pitch, tighten your bow, and you are all set to perform at your new destination. If you have any other tips and tricks that you use when traveling, be sure to put it in the comments to share. Safe travels and happy practicing!
Note: these tips mostly apply to violins or violas since cellos and basses will most likely be under the cabin as checked luggage or in the seat next to you if you choose to buy a seat for your cello.

